Entry 2: SeeD field exam
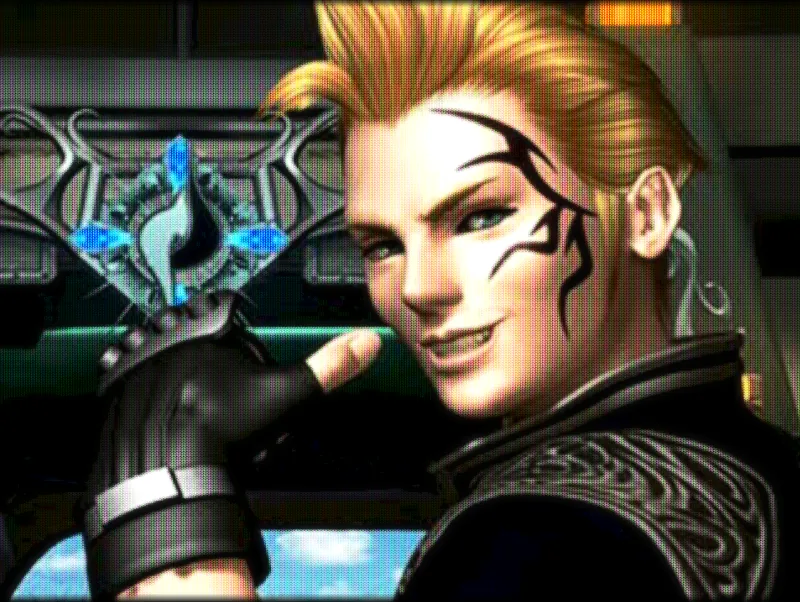
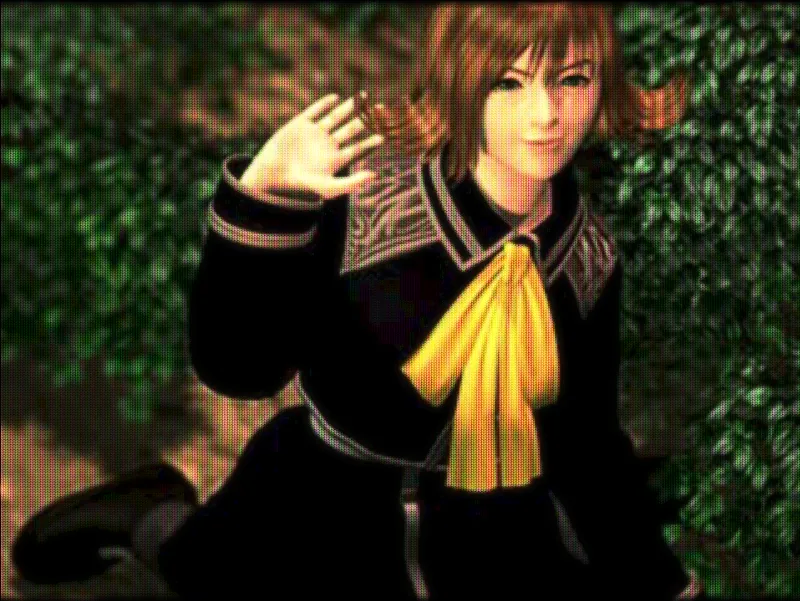
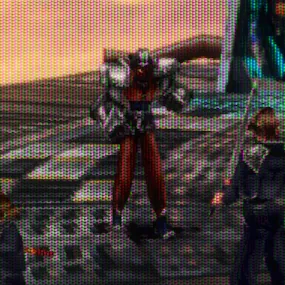
The time has come for Squall and his classmates to take the SeeD field exam. SeeD candidates are deployed in a live combat situation, with a real mission and real stakes for both themselves and the Garden. Of course, the Garden also deploys actual SeeD members to ensure the mission is carried out successfully. Before setting off, we get dressed into our candidate's uniform, and attend a briefing where we meet our new team-mate, Zell Dincht.
The main thing that stood out to me during the briefing from Quistis and Headmaster Cid was how intense and badass the music is. Named on the soundtrack simply as "SeeD", the hard military drums, interrupted by the contrasting melody, make me feel the kind of dread and anticipation that I imagine SeeD itself inspires. It is easy to imagine being a trained soldier, suddenly having to go up against these teenage mercenaries who have been trained from early childhood to be magic-wielding super-soldiers. It's pretty dark stuff and I think the soundtrack here captures it perfectly.
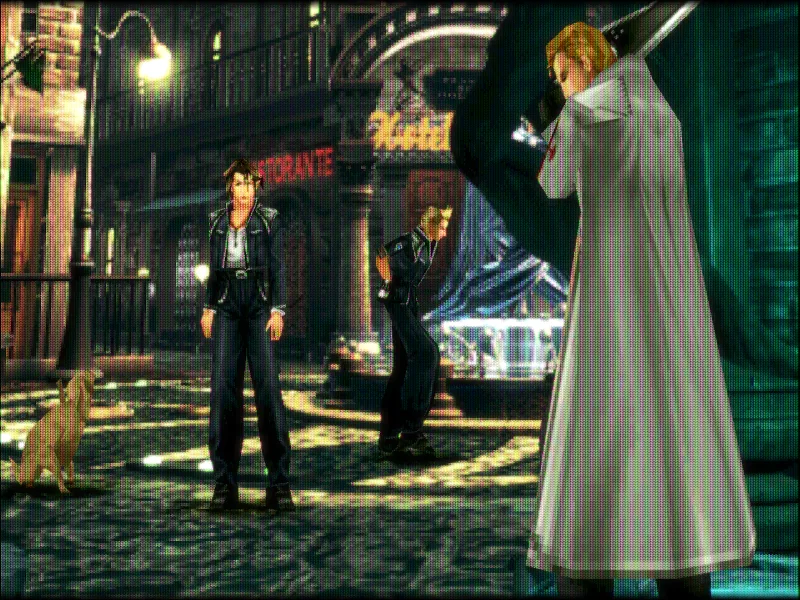
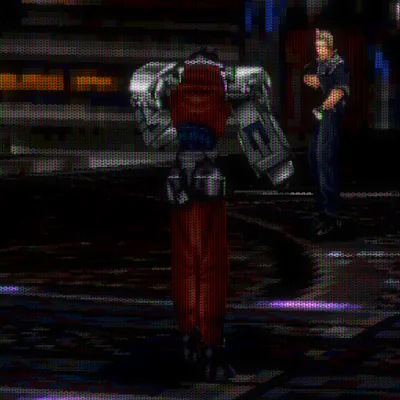
After meeting up with Seifer, our team leader for the exam, we set off for Balamb harbour. I noticed that when using a car on the world map we seem to be able to avoid random battles, which is knowledge that might come in handy later on. At the harbour one of the SeeD members mentions that our instructor, Quistis, is a bad instructor. I wish I'd had the option to correct him there and then, but alas it was time to start the mission.
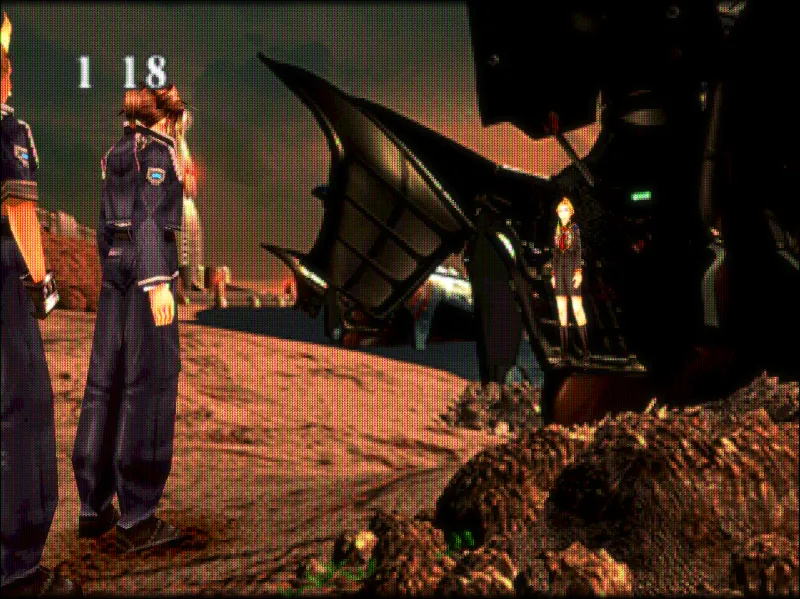
Our task for the exam is to liberate the city of Dollet from the attacking army of Galbadia. Upon making landfall on Dollet beach, it is our team's task to fight our way to the central square and hold it. We have learned that this is not Seifer's first attempt at the field exam, and it is immediately obvious why he has failed in the past: He has no sense of responsibility as team leader, has limited respect for orders, and hasn't even put on a candidate uniform! That said, he is a seriously tough fighter, and we clear the central square without issue.
It's pretty clear that Seifer is struggling with the responsibility of staying put and not killing anyone, and the team take turns winding each other up while waiting for any excuse to abandon their post. Eventually, we spot some Galbadian soldiers heading for the nearby mountains and a mysterious tower at its summit. Seifer is keen to pursue them, and Squall decides to "respect the captain's decision" although Seifer and I share the suspicion that Squall would have went anyway if he'd been captain.
Something that surprised me during this stage of the game is how well Squall and Seifer seem to get on. Don't get me wrong: they are hardly best buddies. However, there definitely seems to be a mutual respect for each other's abilities. Honestly, neither character has shown much respect for any of their classmates, so this might be the closest thing to friendship that either has.
As we progress up the mountain we begin encountering monsters in addition to Galbadian soldiers and we manage to clear them out without fuss. I continue drawing pretty much all new spells to 100 for each character, and I am using Seifer and Zell as physical attackers with Squall acting as Cure support, since I have junctioned his Quezacotl to improve his MAG stat. I continue this setup until the end of the mission, even after Seifer runs on ahead and Selphie takes his place.
Speaking of Selphie, she catches up to us as we reach the top of the mountain with urgent orders for Seifer. Unfortunately, our captain's enthusiasm has got the better of him and he has charged on without us. Selphie joins us as we attempt to catch up.
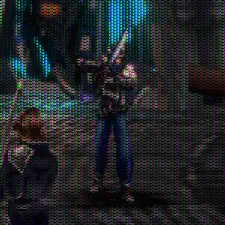
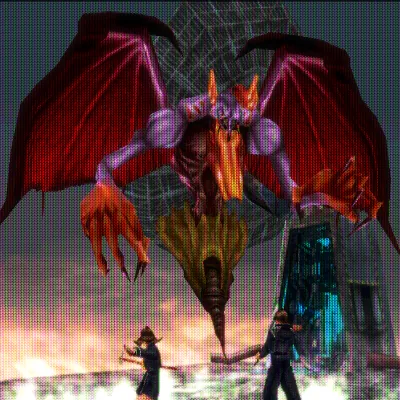
We take a lift to the top of the communication tower, to find two Galbadian soldiers apprarently attempting to repair it. Biggs and Wedge (Final Fantasy mainstays) have a pretty amusing exchange before we crash their operation and initiate a boss battle. Initially we are only fighting Biggs, but before long Wedge joins in and makes the fight much easier by providing a source from which to draw Cure magic. Once they are defeated, a huge monster drops from the tower and we are straight into a fight against Elvoret.
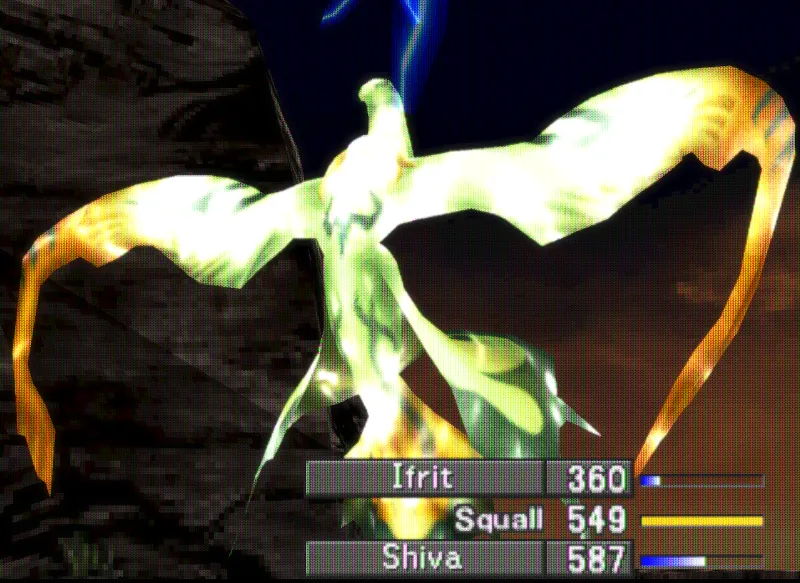
The Elvoret fight is pretty straightforward, as once again we can draw Cure magic directly from the boss. This enemy has two other crucial spells to draw: a new GF, Siren, and the Double magic. Siren is important since GFs are the main source of our character's power, and Double is important as it allows us to cast a spell twice in a single turn, possibly on different targets - very useful, as we will see in the next fight.
With Elvoret defeated, Selphie is able to give her message to Seifer. The orders are to withdraw immediately, and we only have 30 minutes to make it back to the beach before the transports return to Balamb. We also see that Biggs and Wedge have succeeded in their efforts to get the communication tower back online, but we have no time to think or act on that!
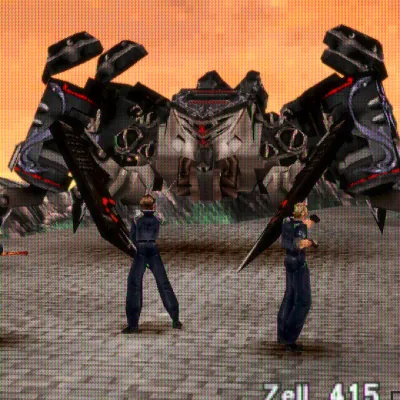
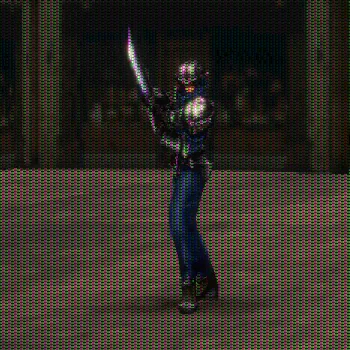
As we set off back down the mountain, we are attacked by an enormous robot spider, X-ATM092. You have a couple of options for this fight. You can choose to fight it until it enters repair mode, then escape from the battle. You will need to repeat this multiple times as you work your way down the mountain, but you are rewarded with a badass cutscene of Quistis destroying the beast with a large machine gun. Alternatively, you can attempt to destroy X-ATM092, although you can only do this if you have already escaped from it at least once!
Since I had been spending time drawing and junctioning lots of magic, I decided to attempt to destroy the mechanical beast. My strategy was as follows: I opened the battle by having Squall cast Double on himself and Selphie, who both had junctioned to improve their MAG stat. Then, I had Squall and Selphie double-cast Thunder on the spider, while Zell used physical attacks. I should note that I also junctioned Thunder onto Zell's physical attack, so he was reliably hitting for over 100 points of damage.
When the spider entered repair mode, I sat back to draw Protect. When it started attacking again, I restarted my attack rotation. If any of my team got below 200 HP, I used Squall to double cast Cure. Eventually, X-ATM092 will stop entering its repair mode, before finally blowing up in spectacular fashion. The reward for defeating the spider is a nice item and a huge amount of AP, helping develop your GFs.

With that battle out of the way, it was time to head to the beach. I hit a few random encounters on the way down, and got uncomfortably close to the time limit! However, in the end we were able to successfully extract from the battle zone and head back to Balamb. After arriving back, we were told that we had some time to debrief before heading back to Garden.
I decided to conclude the session by stopping by the inn where a save point can be found upstairs. Our next objectives: explore Balamb, then hike back to Balamb Garden, since our heroic leader and team-player Seifer stole our car for the trip back!
Enemies Encountered
G-Soldier
Anacondaur

Biggs
Wedge
Elvoret
Elite Soldier
X-ATM092